




How to Build a SaaS Change Verification Checklist for Public Pages and Product Screens: A SaaS change verification checklist for public pages and product…
Last updated: November 14, 2026
Key Takeaways
- Compare at least two public sources, then record the visible difference and whether the evidence is sufficient.
- Include claim, source type, URL, capture date, proof text, comparison note, and final status in each row.
- Review screen captures with page history so visible content and timing are checked together.
- Use the same sequence every time: identify, collect, compare, record, and close.
A SaaS change verification checklist for public pages and product screens keeps public page updates and product screen changes from slipping through without proof. Quick Answer: use at least 2 public sources, 7 row fields, and 1 clear status per claim. It is often the most direct way to confirm what changed, where it changed, and which public source backs it up. The steps below settle what to check, what to record, and how to avoid false alarms.
What a SaaS change verification checklist needs to prove

A SaaS change verification checklist for public pages and product screens needs to prove three things: the change exists, the change is visible in public evidence, and the evidence points to the same version of the product or page. That sounds simple until a release note says one thing, a help doc says another, and a screen capture shows a third.
Picture this: you’re comparing a public pricing page, a product screen, and a help article from the same week. The page text changed, the screen label changed, and the release note only mentions “improvements.” Your checklist has to tell you which source wins, and why. Without that order, verification turns into guesswork.
A good checklist is not a pile of screenshots. It is a repeatable editorial workflow built for public pages, product screens, release notes, help docs, and the status page. It records the claim, the source, the date, the visible change, and the gap if the sources disagree.
Use this checklist structure before you open any tool:
- What changed?
- Where did the change appear?
- Which source is primary?
- Which other source confirms it?
- What exact text or screen state proves it?
- What stays unverified?
That last line matters. A change verification checklist is not meant to prove everything at once. It is meant to separate confirmed changes from likely changes and from noise. If a page header changed but the linked help doc did not, the checklist should capture that mismatch, not smooth it over.
Which public sources should go into the checklist?
The checklist should include only public sources you can compare side by side: public pages, product screens, release notes, help docs, and the status page. Those five source types cover most change work without drifting into private tickets, internal chat, or guesswork.
Picture this: you’re staring at a release note that says “new export flow,” but the product screen still shows the old button. The checklist must give you a place to log both observations, because the public record may be lagging. That lag is normal.
Use a source priority rule:
- Product screen if the change is visible in the live UI.
- Public page if the claim is on marketing or documentation pages.
- Help doc if the behavior is described there in plain terms.
- Release note if you need timing or intent.
- Status page if the change is tied to an outage, rollout, or incident.
A source can confirm, contradict, or explain another source. Do not treat them as equal; if the evidence is ambiguous, consult a professional reviewer and the NIST risk management guidance. A pricing page and a help doc can both be public and still disagree on a field name, feature label, or workflow step.
Your checklist should also include the source version details you can actually see: URL, page title, visible timestamp, captured date, and if needed the screen state, such as a menu path or panel name. If a change can only be seen after opening a drawer or switching tabs, write that down too.
Here’s the catch: not every public source deserves the same weight.
- A release note can announce intent without proving the final UI.
- A help doc can describe a behavior that the screen has not yet rolled out to everyone.
- A status page can confirm service state, not product copy.
- A public page can be updated after the underlying product already changed.
That is why the checklist needs a field for source type and source confidence. It keeps your team from treating a marketing edit like a product update; if the distinction is unclear, consult a professional reviewer and compare the sources with the NIST risk management guidance.
How do I confirm a change from public evidence?
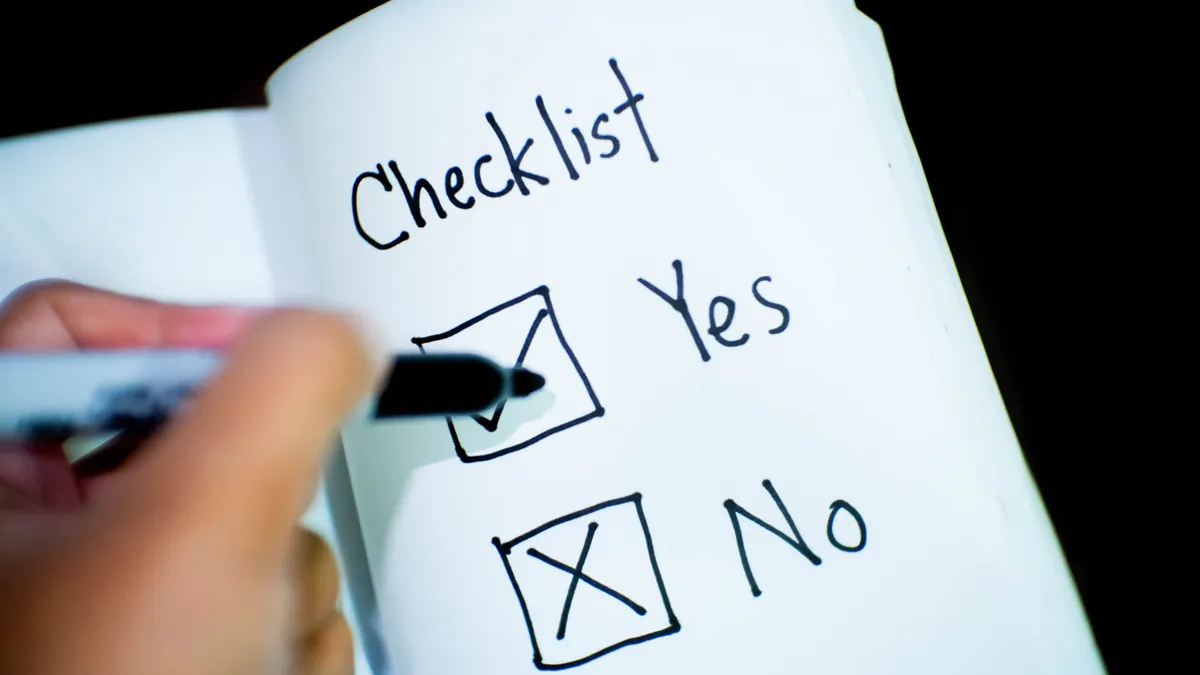
You confirm a change from public evidence by comparing at least two public sources, capturing the visible difference, and writing down why the evidence is enough or not enough. The point is not to collect more screenshots; the point is to make the decision traceable.
Because of that, a practical verification workflow looks like this:
- Write the claim in one sentence. Keep it narrow: “The product screen label changed from X to Y” or “The public page now lists feature Z.”
- Collect the first public source. Save the URL, page title, date, and a screenshot or page capture of the relevant area.
- Collect a second public source. Use a different source type when you can, such as a help doc after a product screen or a release note after a public page.
- Compare the exact wording, screen state, or field name. Mark what matches, what differs, and what is missing.
- Record the proof line. Quote or transcribe the visible text, then note the source that supports it.
- Mark the result: confirmed, partial, contradicted, or unresolved.
The checklist should force specificity. “Changed button text” is weak. “Primary CTA on the pricing page changed from ‘Start free trial’ to ‘Book demo’ on the top fold” is usable because it names the surface, the part of the page, and the visible shift.
Use a simple rule for evidence strength:
- Confirmed: two public sources align, or one source plus a clear screen capture.
- Partial: one source supports the change, but another source is stale or unclear.
- Contradicted: two public sources disagree.
- Unresolved: the source is public, but the evidence is too thin to judge.
The best part is that you can keep this in a spreadsheet, a doc, or a workflow tool. The format matters less than the fields. If the checklist does not force a judgment, it is just an archive.
What fields should every checklist row contain?
Every checklist row should contain the claim, source type, source URL, capture date, proof text, comparison note, and final status. Those seven fields are enough to keep a public-page or product-screen review honest without bloating the sheet.
Because a row without context goes stale fast, use 7 fields to give the next person enough detail to re-check the same claim without starting from zero.
Use fields like these:
- Claim ID: a short label for the change
- Claim text: one sentence, no extra commentary
- Source type: public page, product screen, release note, help doc, or status page
- Source location: URL plus page section or screen path
- Capture date: the day you observed it
- Proof text or image note: the exact visible wording or screen state
- Comparison result: confirmed, partial, contradicted, unresolved
- Reviewer note: why the source was accepted or rejected
If you manage changes across more than one page, add two more fields: surface and system. Surface tells you where the change showed up, such as a header, a pricing table, a settings panel, or a help article. System tells you whether it belongs to a web page, app screen, docs page, or status page. That split matters when the same wording appears in different places for different reasons.
A row also needs one hard rule: never store only the conclusion. Store the proof. A clean conclusion without the supporting text is not verification; it is a shortcut that will break the next time someone asks, “Where did that come from?”
Keep the language plain. Avoid “miscellaneous update,” “minor tweak,” and “content refresh.” Those phrases hide the thing you are supposed to verify. Put the exact screen label, heading, or help-doc sentence in the row.
How should screen captures and page history be reviewed?
Screen captures and page history should be reviewed together, because one shows what was visible and the other shows when the public page changed. If you rely on only one, you miss half the story.
Because the same page can look different over time, review both evidence types in the same pass.
A solid review process uses both of these checks:
-
Screen capture review
- Confirm the crop includes the full claim.
- Check whether the visible state is open, closed, expanded, or collapsed.
- Note the device or viewport if the layout changes by screen size.
- Save the capture with a date and a source label.
-
Page history review
- Compare the latest version with the previous visible version.
- Note whether the change was text-only, layout-only, or structural.
- Record the first known date the change appeared.
- Flag any gap between the edit date and the capture date.
You do not need a long forensic report. You do need enough detail to explain why two people looking at the same public page might see different things at different times. That matters on launch weeks, staggered rollouts, and staged releases.
The biggest mistake here is treating a screenshot as proof of timing; if the timeline is unclear, consult a professional reviewer before closing the row. A screenshot proves what was on screen at that moment. It does not prove it was the first moment, or that every user saw it. Page history helps with timing, but it still may not show the full rollout pattern.
So the checklist should ask two separate questions:
- What did the screen show?
- What does the page history say about when it changed?
If those answers line up, confidence goes up. If they do not, the checklist should preserve the mismatch, not erase it.
How do you turn the checklist into a repeatable workflow?
You turn the checklist into a repeatable workflow by using the same order every time: identify, collect, compare, record, and close. A workflow only works if the same person can run it on Monday and Friday and get the same kind of output.
Because consistency matters across releases, start with the claim, then move to source capture, then comparison.
Use this order:
- Identify the claim from the public signal.
- Assign the source type before you read too deeply.
- Capture the evidence with date, URL, and screen state.
- Compare against one other public source.
- Record the result with a clear status.
- Close the row only when the evidence is enough for the claim you wrote.
A good workflow also sets a stop rule. If a change cannot be confirmed from public sources, the checklist should not force a yes. Leave it unresolved, note why, and move on. That is better than inflating certainty.
The checklist is also the right place to define escalation. If a product screen and help doc disagree, the reviewer should know what to do next: look for a release note, check the status page, or mark the item as pending until the public sources line up. This keeps the work from bouncing between people.
The truth is, most bad verification comes from unclear ownership, not from missing tools. A checklist can’t fix that alone, but it can make the handoff clean. If another reviewer can pick up the row and see the claim, the sources, and the reason for the status in under a minute, the checklist is doing its job.
What mistakes break verification most often?
The most common mistake is treating one public source as enough when the claim needs comparison. That leads to false confidence, and false confidence is expensive because it looks finished. A second mistake is mixing up page copy changes with product behavior changes.
Because those categories are easy to blur, keep page text, product screens, release notes, help docs, and status updates in separate lanes.
Watch for these failures:
- Single-source proof: one page is not enough when another public source exists.
- Missing capture date: you can’t tell when the evidence was gathered.
- Vague wording: “updated,” “improved,” or “refined” hides the actual change.
- No source type: you lose the difference between a help doc and a status note.
- No disagreement field: contradictions get buried instead of reviewed.
- No page history note: you lose timing and rollback context.
The fix is simple, but it has to be enforced. Every row should require a source type, a capture date, and a direct proof note before it can be marked complete. If any of those are missing, the row stays open.
This is also where a lot of teams overreach. They try to use the same checklist for editorial QA, claims review, pricing review, and product change verification. That makes the sheet muddy fast. This page is for public page and product screen verification only. It is wrong for a checklist that must also judge product claims, pricing details, or launch copy.
How this checklist supports the broader verification system
This checklist supports the broader SaaS change detection and verification hub by handling the final step: proving that the public signal is real, visible, and documented. It does not replace detection; it turns a detected change into a verified one.
Because the detected change is already on the table, the checklist only needs to record what changed, where it showed up, and which source proved it. That is the job here. Detection finds the signal; verification closes the loop.
The handoff fields should stay simple:
–
Drafted with AI; not yet reviewed by a person.